Create a follow-me effect with Pixi.JS and displacement filters
Create a follow-me effect with Pixi.JS and displacement filters
Jan 25, 2021 | Read time 6 minutes🔔 Table of contents
See the demo here
As part of the 100DaysOfCode challenge, I was messing around with the PixiJS library again. I came up with the following follow-me effect for portrait images.
So a few things to be aware of to make this effect (I will go in detail of what I learnt below):
-
PixiJS - a pretty nifty library that is a wrapper around WebGL - makes it easy to work with WebGL without dealing with the nitty-gritty details of the WebGL API
-
Displacement Filters
What the heck is a displacement filter?
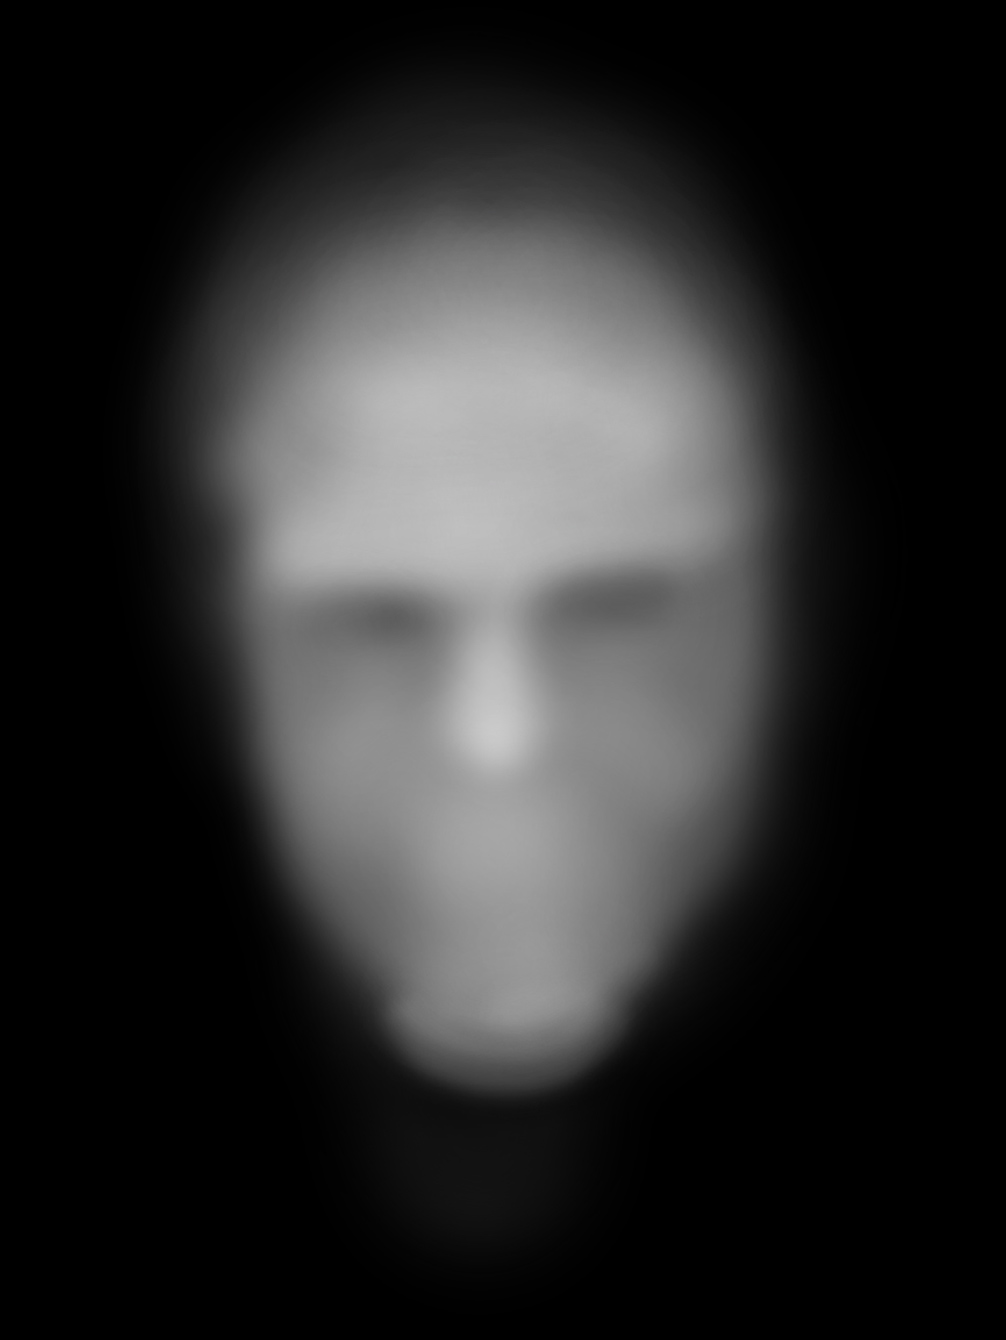
A displacement filter can be used to achieve some crazy warping effects. It distorts pixels from one image using another image called the displacement map. Displacement maps are usually images that are grayscale.
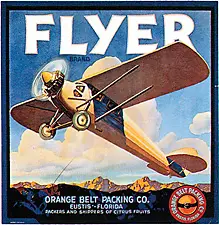
So in our case with PixiJs, when we call the displacement filter function, it takes the values from our displacement map to look up the correct values to output. As an example:

 I will be using the 'disp_map.jpg' as my displacement map. I didnt create this myself, just found it online. Although you can mess around with Photoshop to create it I guess.

Approach to make this effect
So to make this effect, the way I approach it is to think of it in steps.
-
Setup the sprite and the displacement filter onto the canvas with PixiJS. The main image (eg Scarlett Johansson) will be at the bottom and I will put the displacement filter on top of it.
-
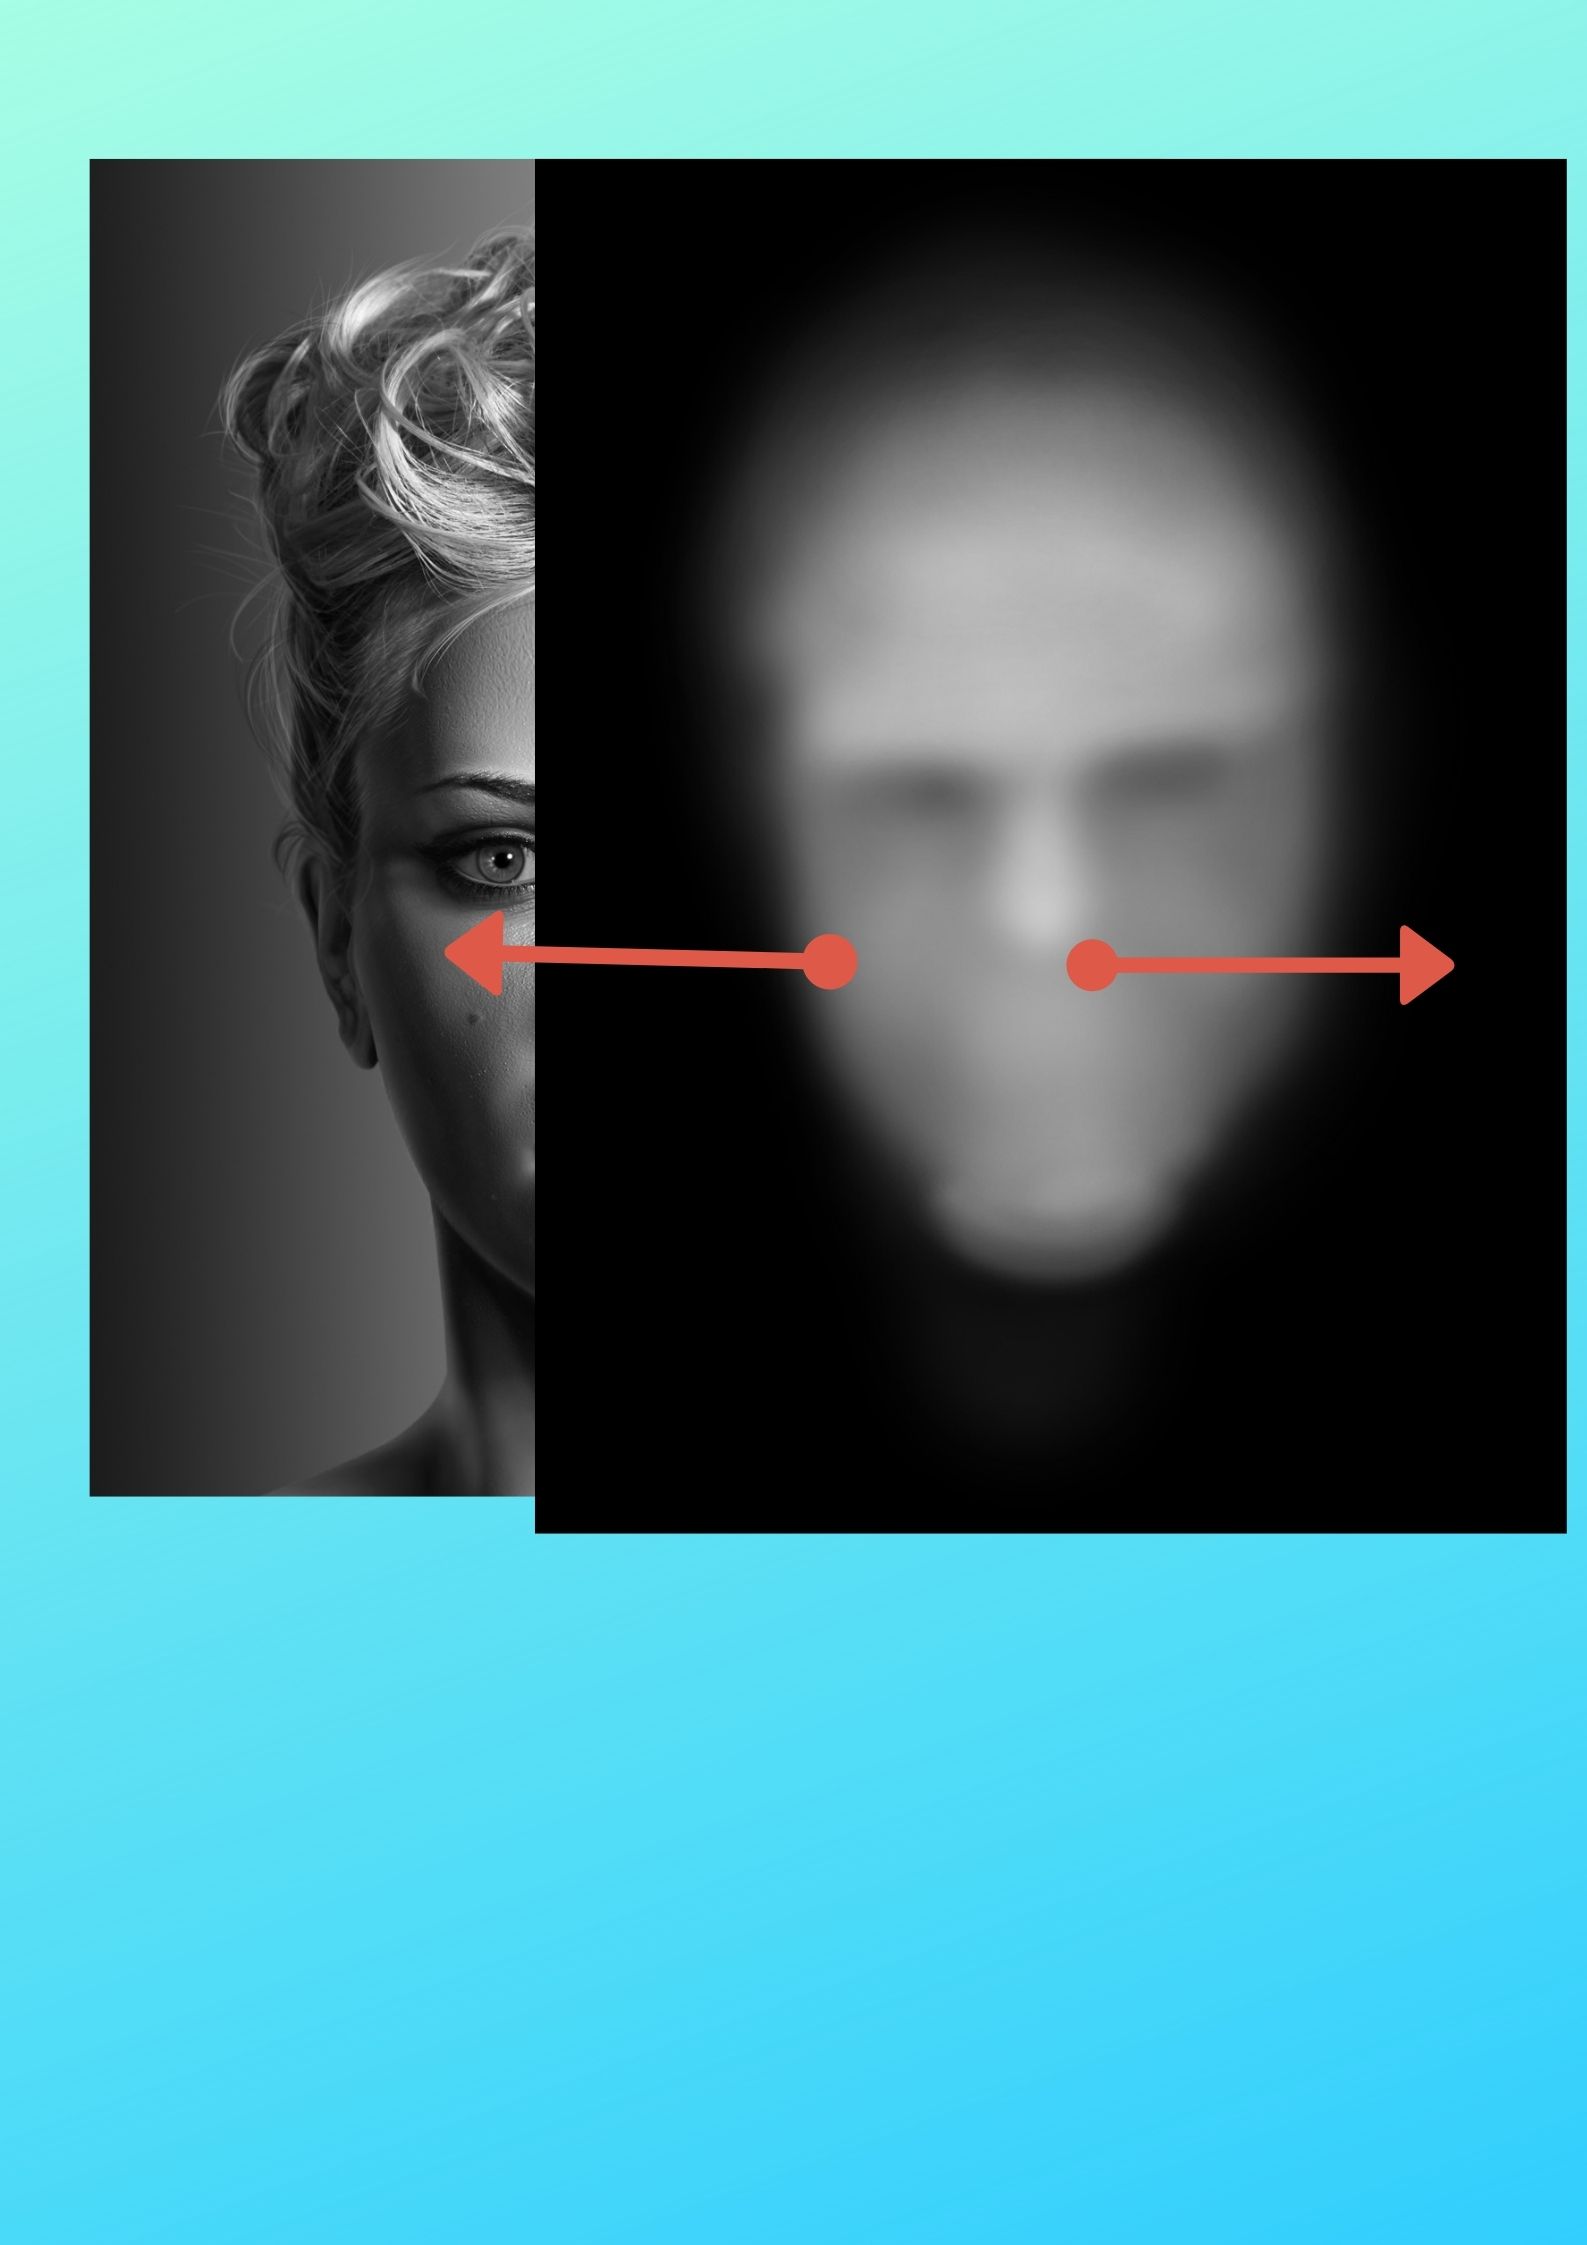
Track the mouse position (X and Y coordinates). Move the displacement filter based on the mouse position.
Here is a visual example of what I am trying to achieve (imagine the displacement filter is on top of the Scarlett Johansson picture):

HTML
The HTML for this is not too complicated - the main action is in the Javascript and PixiJS
<!doctype html>
<html>

<head>
    <meta charset="UTF-8">
    <meta name="viewport" content="width=device-width, initial-scale=1.0">
    <title>Document</title>
    <script src="https://cdnjs.cloudflare.com/ajax/libs/pixi.js/4.7.0/pixi.min.js">

    </script>
    <link rel="preconnect" href="https://fonts.gstatic.com">
    <link href="https://fonts.googleapis.com/css2?family=Inter&display=swap" rel="stylesheet">


</head>

<body>
    <main>
        <div class="buttonContainer">
            <h1>#100DaysOfCode Image Displacement</h1>
            <button class="btn" id="btnPrevious" onclick="previous()">Previous</button>

            <button class="btn" id="btnNext" onclick="next()">Next</button>


        </div>

    <canvas id="canvas" style="width: 100%; height: 100%;"></canvas>
</body>

</html>
CSS
CSS for this is pretty simple. We got the main canvas and a couple of buttons to update the picture when you move next/previous.
        body{
            font-family: 'Inter', sans-serif;

            background-color: white;

        }

        .btn {
            background-color: white;
            color: black;
            padding: 2rem;
            outline: none;
            margin-right:0.5rem;
            border: 3px solid black
        }
        main{
            display: flex;
            flex-direction: column;

        }
        .buttonContainer{
            display: flex;
            padding-bottom: 3rem;
            margin-left: 3rem;

        }
        h1 {
            padding-right: 2rem;
        }
Javascript with PixiJs
   var images = [
        {
            name: "scarlet.jpg",
            width: 600,
            height: 700,
        },

        {
            name: "rei.jpg",
            width: 800,
            height: 800,
        },
        {
            name: "cat.jpg",
            width: 800,
            height: 500,
        },
        {
            name: "vegeta.png",
            width: 900,
            height: 450,
        }
    ];

    /* Setup of the main image and the displacement filter */
    var index = 0;
    var image = images[index];
    var initTexture = PIXI.Texture.fromImage(image.name);
    var canvasWidth = document.body.offsetWidth;
    var canvasHeight = document.body.offsetHeight;
    var app = new PIXI.Application(canvasWidth, canvasHeight, {
        antialias: true,
        transparent: true,
        view: document.querySelector("#canvas")
    });

    app.stage.alpha = 1;
    app.stage.interactive = true;

    var layer2 = PIXI.Sprite.from(initTexture)

    layer2.width = image.width;
    layer2.height = image.height;
    layer2.x = document.body.offsetWidth / 2 - layer2.width;
    layer2.y = 0;

    var displacementFilterTexture = PIXI.Sprite.fromImage(
        "disp_map.jpg"
    );

    displacementFilterTexture.width = image.width;
    displacementFilterTexture.height = image.height;
    displacementFilterTexture.x = document.body.offsetWidth / 2 - displacementFilterTexture.width;
    displacementFilterTexture.y = 0;

    var mainContainer = new PIXI.Container();

    mainContainer.addChild(displacementFilterTexture);

    var additionalContainer = new PIXI.Container();
    additionalContainer.addChild(layer2);

    var circle = null;

    mainContainer.addChild(additionalContainer);

    var displacementFilter = new PIXI.filters.DisplacementFilter(
        displacementFilterTexture,
        0
    );


    layer2.filters = [displacementFilter];

    app.stage.addChild(mainContainer);

    /* Track the mouse movement */

    setMoveHandlers(app, circle, displacementFilter);

    function setMoveHandlers(app, circle, displacementFilter) {
        app.stage
            .on("mousemove", onPointerMove.bind(circle, displacementFilter))
            .on("touchmove", onPointerMove.bind(circle, displacementFilter));
    }

    function onPointerMove(displacementFilter, eventData) {
        setTilt(
            30,
            eventData.data.global.x,
            eventData.data.global.y,
            displacementFilter
        );
    }

    /* The main effect - move the displacement filter based on the mouse position (we also apply scaling) */

    function setTilt(maxTilt, mouseX, mouseY, displacementFilter) {
        var midpointX = document.body.offsetWidth / 2,
            midpointY = document.body.offsetHeight / 2,
            posX = midpointX - mouseX,
            posY = midpointY - mouseY,
            valX = posX / midpointX * maxTilt,
            valY = posY / midpointY * maxTilt;
        displacementFilter.scale.x = valX;
        displacementFilter.scale.y = valY;
    }

    /* Next button click - load next image and reset displacement filter */

    function next() {
        if (index >= images.length - 1) {
            return;
        }
        else {
            index++
        }
        image = images[index];
        var newTexture = PIXI.Texture.fromImage(image.name);

        layer2.texture = newTexture;
        layer2.width = image.width;
        layer2.height = image.height;
        layer2.x = document.body.offsetWidth / 2 - layer2.width;
        layer2.y = 0;

        displacementFilterTexture.width = image.width;
        displacementFilterTexture.height = image.height;
        displacementFilterTexture.x = document.body.offsetWidth / 2 - displacementFilterTexture.width;
        displacementFilterTexture.y = 0;
        console.log(image)

    }

    /* Previous button click - load previous image */

    function previous() {
        if (index == 0) {
            return;
        }
        else {
            index--
        }
        image = images[index];
        var newTexture = PIXI.Texture.fromImage(image.name);

        layer2.texture = newTexture;
        layer2.width = image.width;
        layer2.height = image.height;
        layer2.x = document.body.offsetWidth / 2 - layer2.width;
        layer2.y = 0;

        displacementFilterTexture.width = image.width;
        displacementFilterTexture.height = image.height;
        displacementFilterTexture.x = document.body.offsetWidth / 2 - displacementFilterTexture.width;
        displacementFilterTexture.y = 0;
        console.log(image)

    }